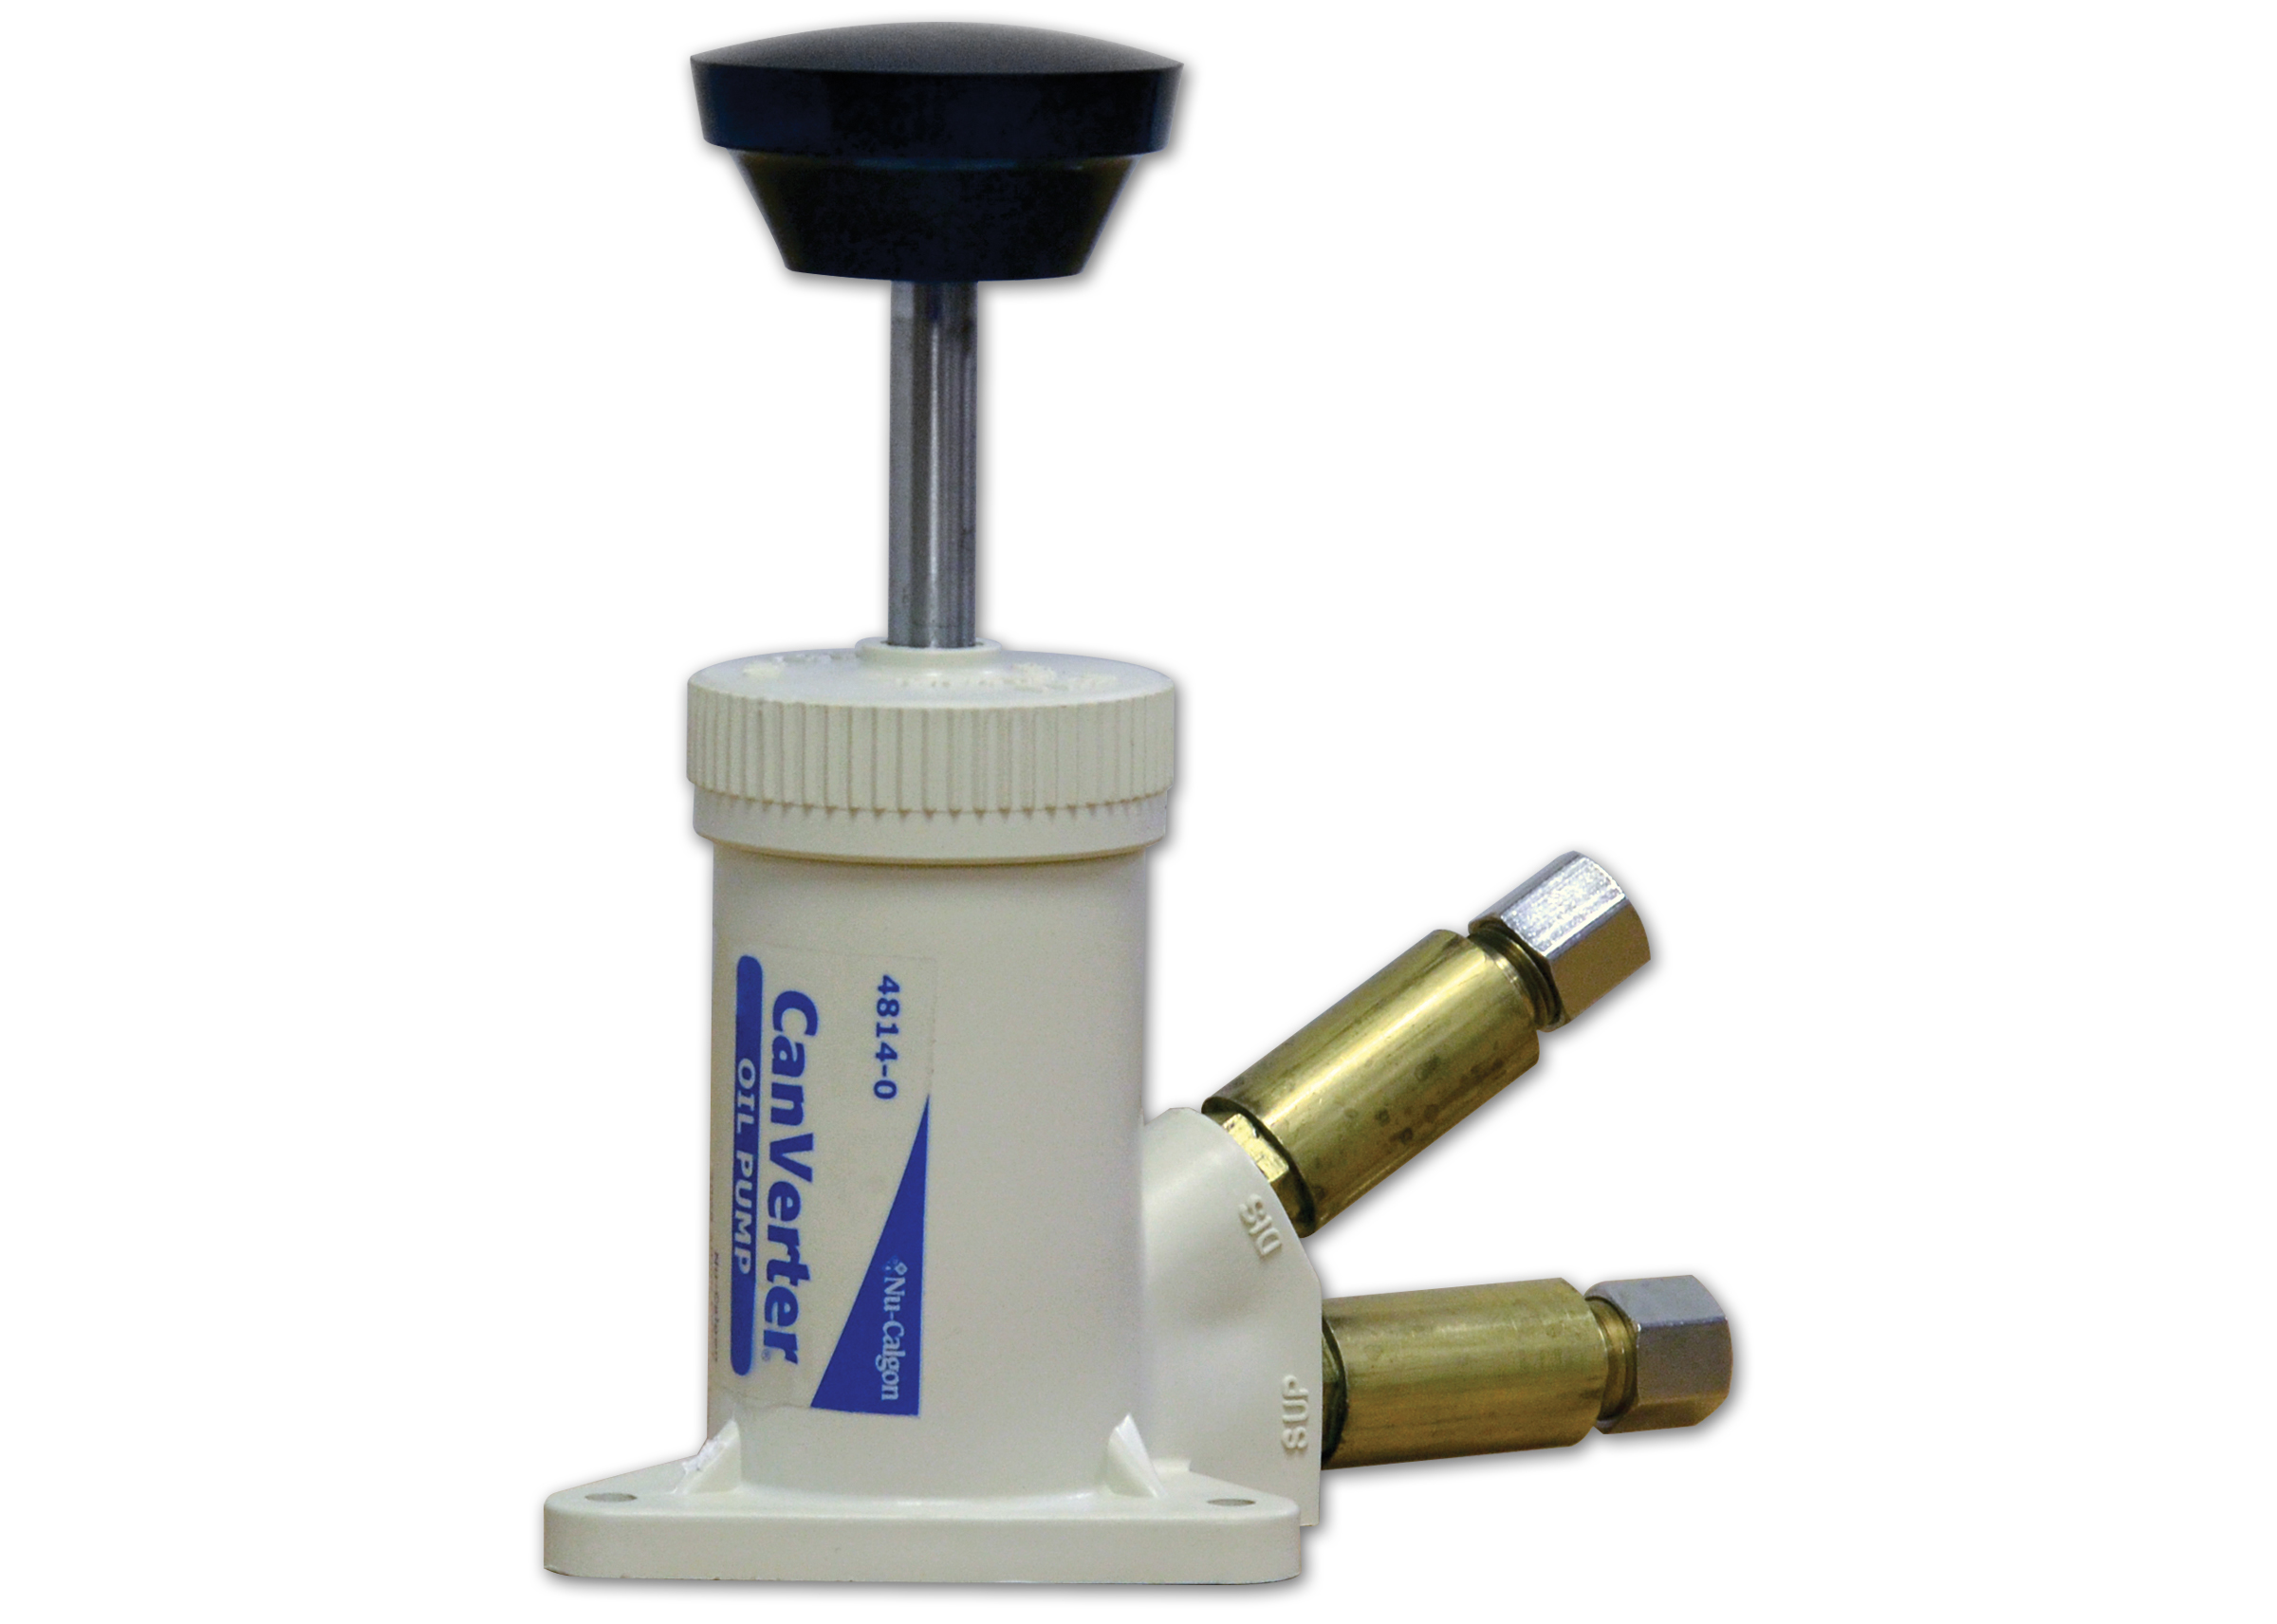
CanVerter

- Removes oil from hermetics in minutes
- Easy to operate
- Simple, durable and inexpensive
- Can be used to remove AND add oil
Description:
Changing-out of oil in hermetic compressors is a snap with Nu-Calgon’s CanVerter. Even the smallest refrigeration system can be retrofitted or have its oil changed. CanVerter eliminates the need to remove the compressor from the system when changing the oil or retrofitting.
| Packaging Size | Part Number | Additional Info |
|---|---|---|
| 1 each | 4814-0 |
Directions:
READ ALL 14 POINTS PRIOR TO SERVICE
- Pump is equipped with two 24˝ lengths of 1/4˝ OD tubing and one 24˝ length of 3/16˝ OD tubing. Due to design and size, some hermetics will require the 1/4˝ tube and others the 3/16˝ tube. Access should be made through the compressor’s suction side or its process tube. Also, pump is equipped with special check valves to permit use in any position relative to compressor (above, below, etc.). When sitting on its base, the pump’s lower fitting (closest to base) is the suction fitting Figure 1.
- Remove refrigerant from system.
- Access hermetic compressor by cutting into the suction line or the process tube near compressor. If suction line is bolted on, detach it. Access selection site will be dictated by compressor design.
- Select the appropriate tubing (1/4˝ or 3/16˝) for specific compressor and connect one end to CanVerter’s suction fitting. If the 3/16˝ tubing is selected, you will need to use one of the 1/4˝ tubings to connect to the CanVerter as the check valves on the CanVerter are equipped with 1/4˝ compression fittings.
- “Snake” other end of this suction tubing through the compressor suction line or process tube down into the compressor’s sump. When using the suction port, you will often have to “snake” the tube over the motor windings and down the opposite wall of the casing.
- Connect another tube (use the 1/4˝ OD tubing) to the CanVerter’s other fitting and place its opposite end into a receptacle for old oil.
- Begin pumping and remove as much oil as possible. Note the amount of oil that was removed as you will have to charge an equal volume of the new replacement oil. NOTE: It would be a good idea at this point to compare the volume of removed oil to the original oil charge volume for the model compressor involved.
- Pour an equal amount of the new oil into a clean, dry receptacle.
- Reverse the tubing connections on the CanVerter, but be sure to have the tubing that was “snaked” into the compressor remain where it is in the compressor. This will become the discharge tubing.
- Remove other tubing from receptacle of old oil, wipe it clean and place it in receptacle of new oil.
- Pump replacement oil into compressor.
- Repair suction line or process tube on system.
- Label compressor with a sticker that identifies type of oil in system.
- Continue with normal maintenance and service procedures to return system to operation.
Product Information:
Literature Downloads
Download the product bulletin and other relevant literature here.
Labels
Download a low resolution file of the product label here.
